
Project today is a combination of my love of knitting and papercraft. This one is blue and I am in the process of putting together a pink one. The concept of this box is that it can be used for other items and adjusted to fit dimensions required.
You can make this type of box for anything you need to show off its potential, just need to measure the height, width and depth, in this case I needed a box that was 8 inches tall, 6 inches wide and 3 inches in depth.
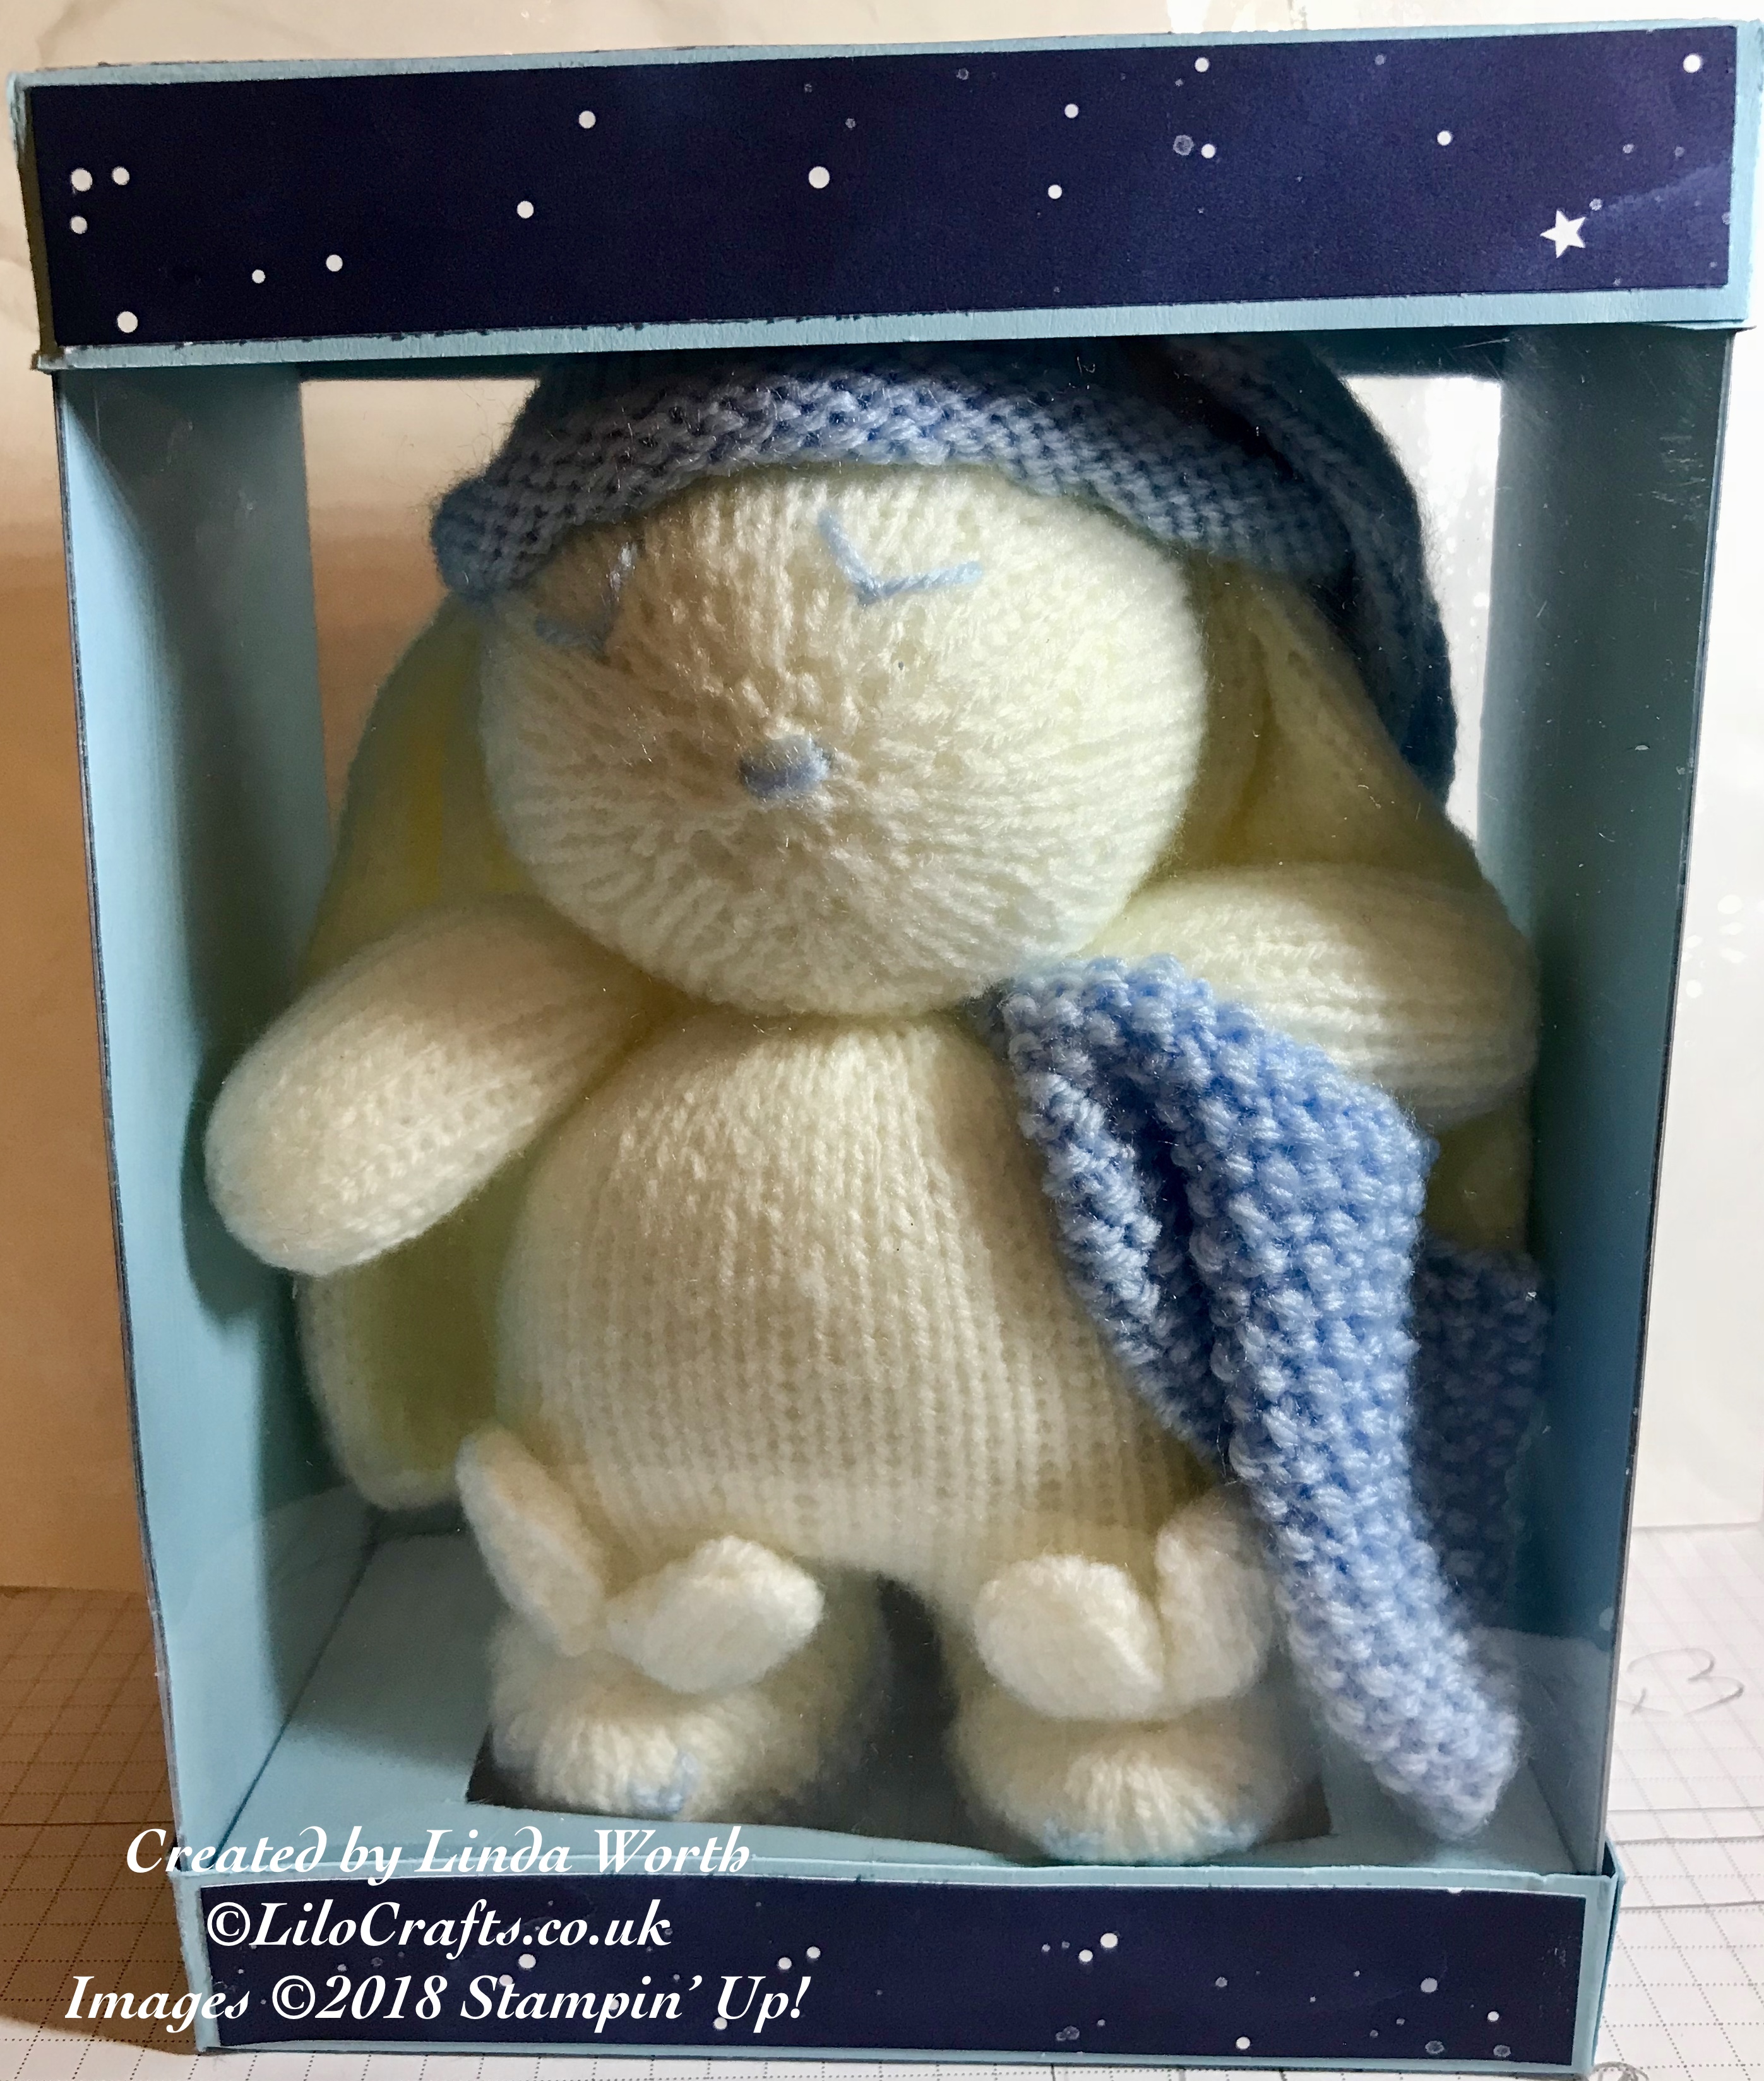
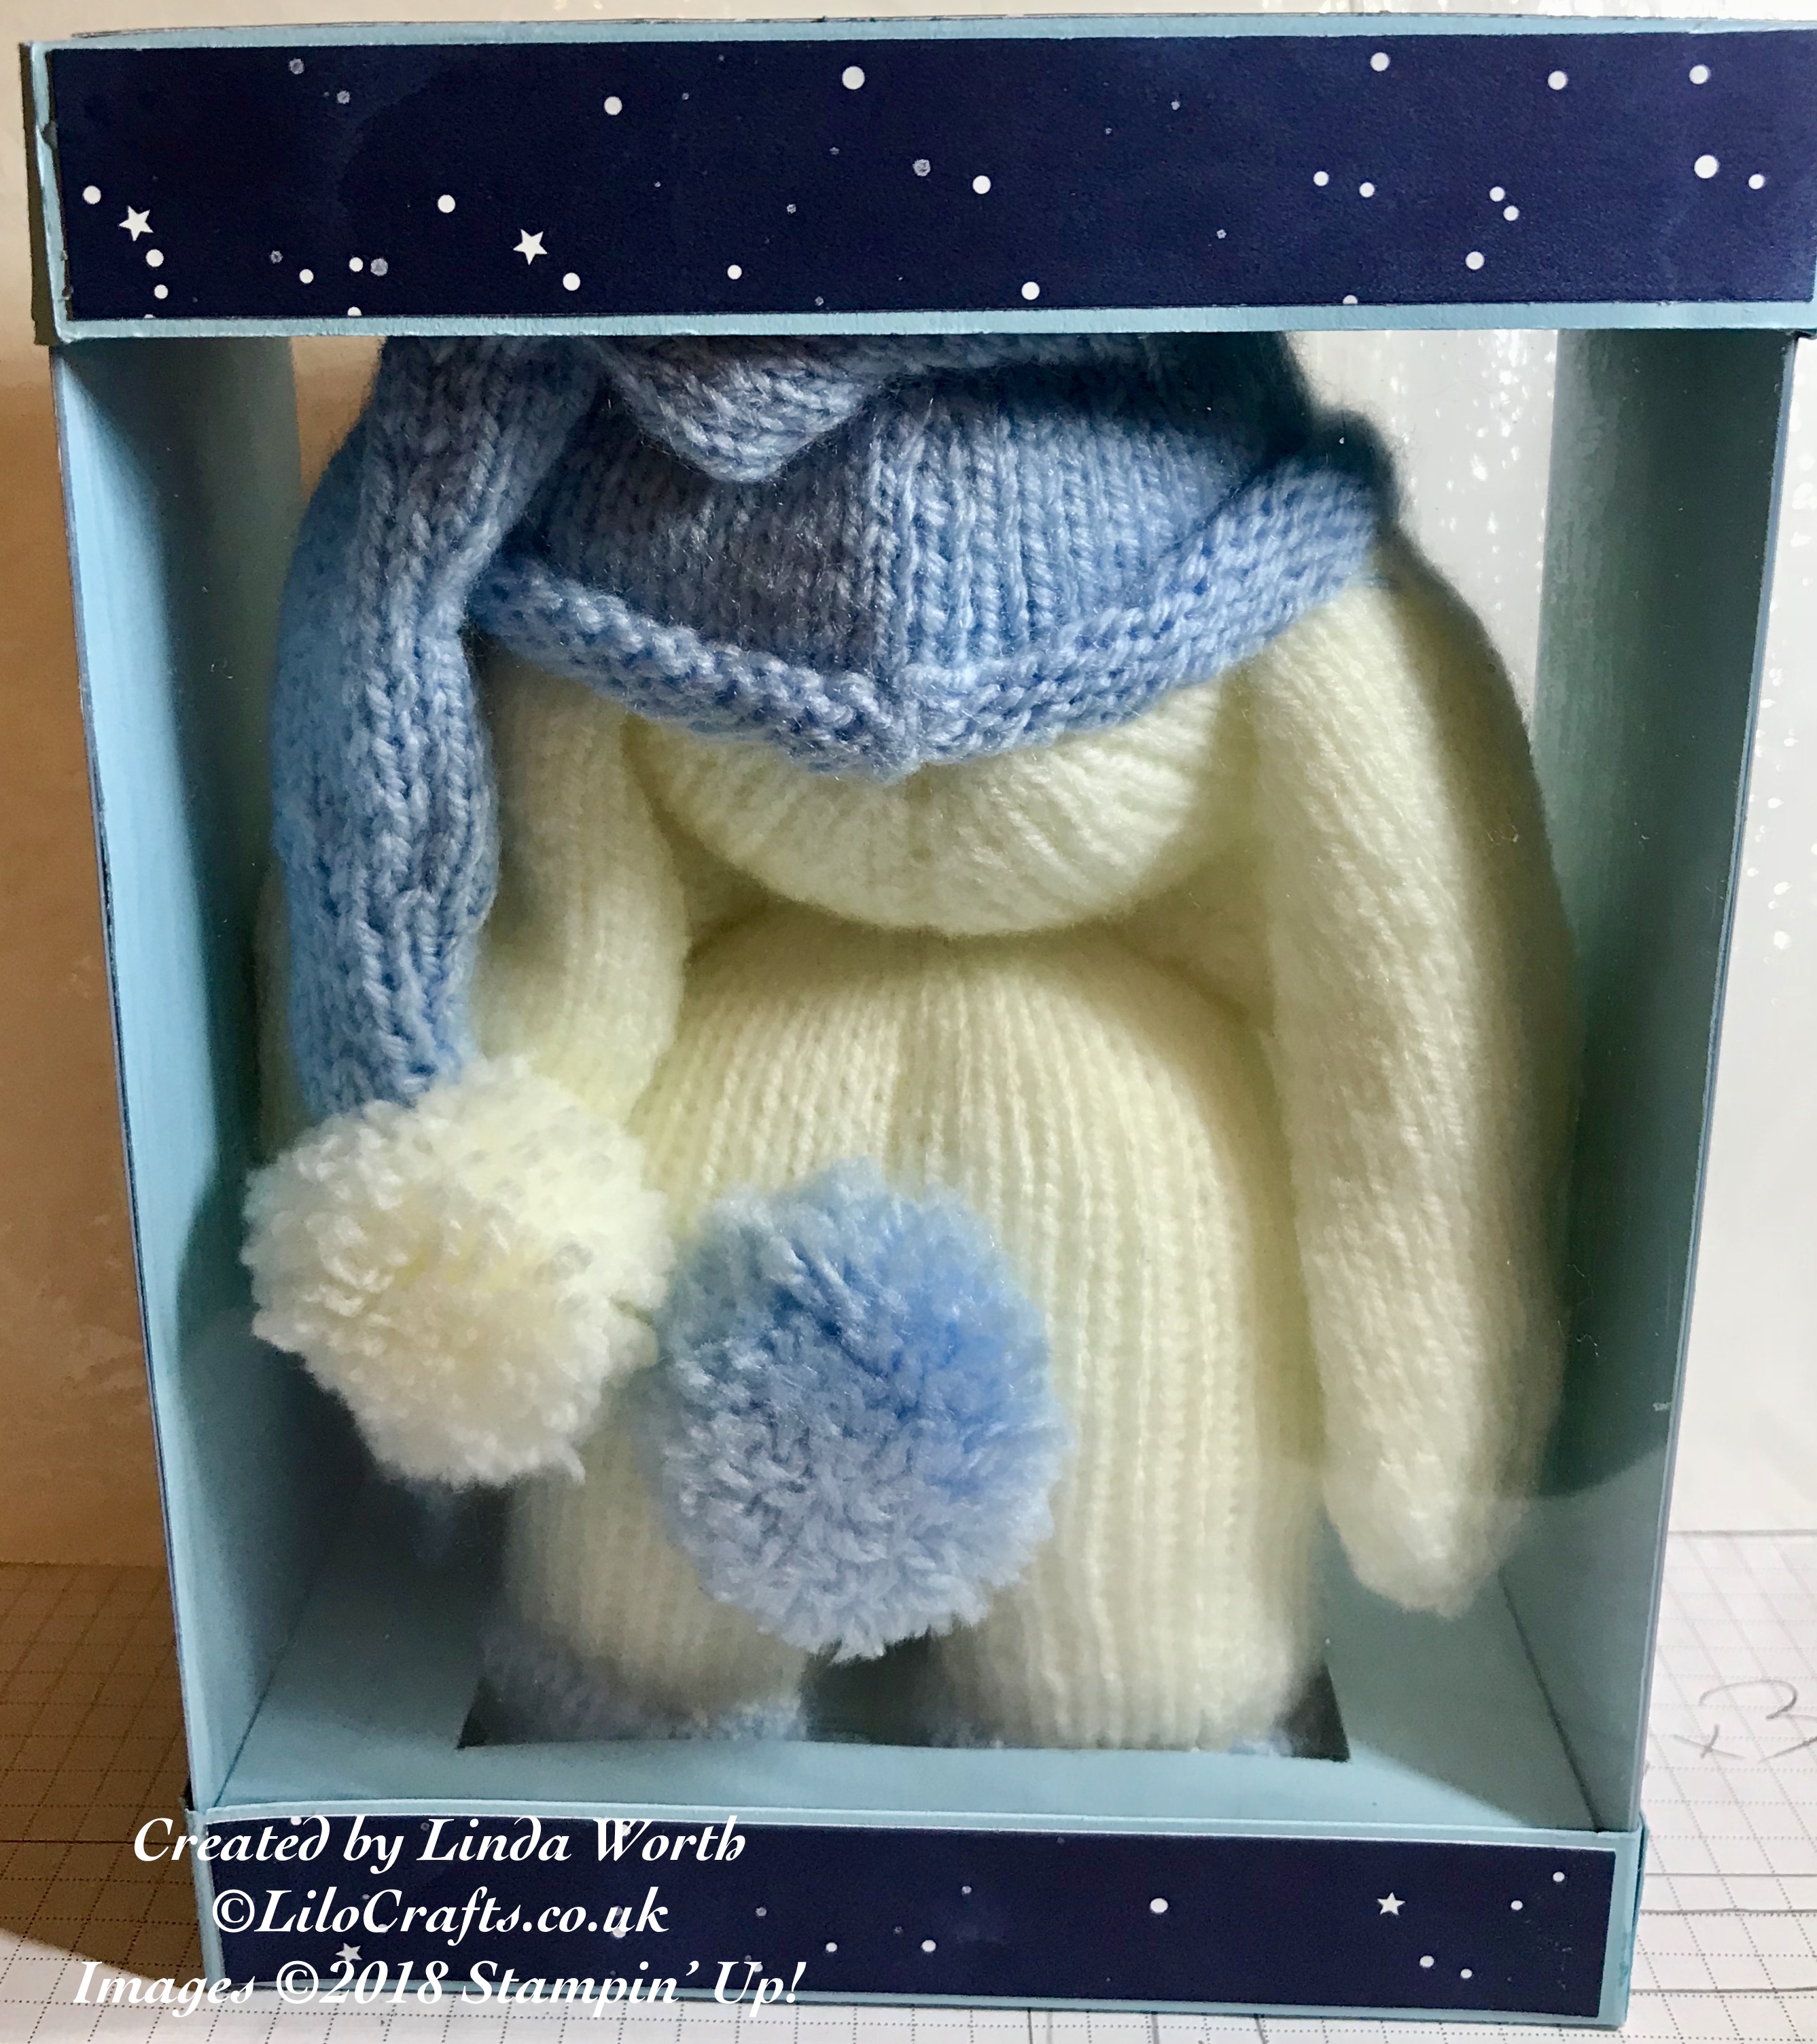
The box uses acetate on the front and back to show off the bunny, the cardstock is Balmy Blue and Twinkle Twinkle DSP was used.
- Balmy Blue cardstock – 2 pieces 3 inches x 8 inches (side panels); 2 pieces 8 1/16 inches x 5 1/16 inches (bottom and top lids), scored at 1 inch on all sides; one piece 7 15/16 inches x 4 15/16 inches (inside the box to balance bunny), scored at 1 inch on all sides, from this piece you need to cut a hole that is 4 inches x 1 inch from the centre section
- Twinkle Twinkle DSP – 2 pieces 3 inches x 8 inches (side panels; 2 pieces 5 7/8 inches x 2 7/8 inches; 4 pieces 5 7/8 inches x 7/8 inch; 4 pieces 2 7/8 inches x 7/8 inch (this covers the two lids
- Acetate – 2 pieces 8 inches x 7 inches, scored at 0.5 inches and 6.5 inches on the short side
Putting the box together
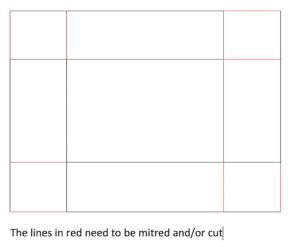
- Score and burnish the two lids and the inside section (cardstock), cut and mitre as diagram for all three pieces and stick the flaps to form 2 lids and 1 inside section using liquid glue
- Adhere the DSP to the lids using snail or if you prefer liquid glue, adhere glue to the flaps to form two lids; adhere glue to the flaps of the smaller piece to form a lid which will be used at the base of the box on the inside
- Score and burnish the acetate
- On the two half inch sections of the acetate place tear and tape to the inside
- Carefully place the Balmy Blue side panels onto the tear and tape ensuring the score line of the acetate matches the edges of the cardstock, the acetate is now on the outside of the side panels
- Adhere tear and tape around the outside of the inside base lid on the bottom edge; carefully stick this to the inside of the base
- Adhere the two DSP side panels to the cardstock/acetate
- Adhere tear and tape around the outside of the base (approx 3/4 inch up from the bottom) and carefully stick on the lid to the base ensuring that the base of the box sits in the lid fully
- Place the contents inside the box
- Secure the box with the lid to the top
- Your box is now complete
Thank you for looking and hope you enjoy making your version.
Linda x
Product List


