
I have cased this from Coul’Heure Papier so a big thank you for the idea Sophie, but instead of adding a gift card, I made an envelope to hold money, if wanted a gift card can be added instead. There is a bit of fussy cutting the elves and presents but I am sure you agree the overall effect is worth it.
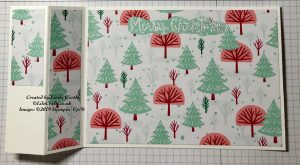
Front of cards when flat
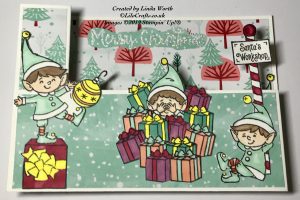
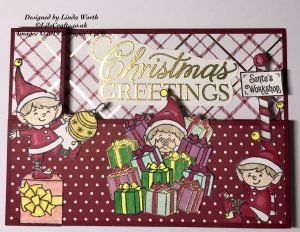
Card when pulled open – envelope raises together with an elf above the presents

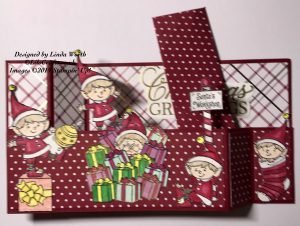
Finished folded card will fit in a C6 envelope.
- Cardstock
- card base 21 x 10.5 cm, score on long side at 3 and 6 cm
- front layer 21 x 5.5 cm, score on long side at 3 and 6 cm
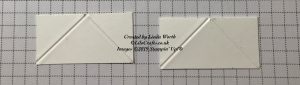
- 2 pieces for mechanism 4 x 2 cm, mark on long side at 2 cm score from this mark to opposite corners – this will form 3 triangles on each piece
- DSP for card base
- large layer 14.5 x 10 cm
- panel layer 2.5 x 10 cm
- small panel layer (first panel does not go the complete length) 2.5 x 4.5 cm
- DSP for front layer
- large layer 14.5 x 5 cm
- 2 panel pieces 2.5 x 5 cm
- Acetate – 2 pieces 1 x 5 cm
- Whisper White
- message panel back of card 14.5 x 10cm
- piece for sentiment
- Thick Whisper White for Elf and present images
Stamp the elf images in memento ink and colour using blends. Stamp 12 presents in memento ink, colour with blends and heat emboss the sentiment. Adhere the DSP to the card base and smaller layer together with sentiment and elf standing on present, elf with signpost and elf in stocking to the small layer piece as shown in photo.
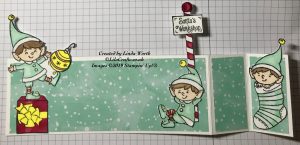
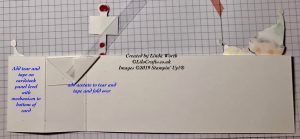
Mechanism pieces should be scored as shown
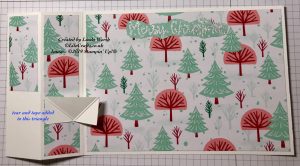
Add the mechanisms as shown using tear and tape,

Add tear and tape as shown to the mechanism as shown on both pieces
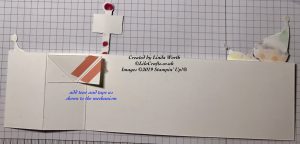
Add acetate to both pieces as shown

Fold card base and small layer and place on top of each other, you will see that the acetate shows below the bottom of the card, remove the excess. Add an elf with glue dots to the acetate on the card base ensuring that it does not show below the bottom of the card when closed. Add envelope or gift card with glue dots to the acetate on the front layer, again must not show below the bottom of the card.
Add tear and tape as shown to adhere the card base and front layer together
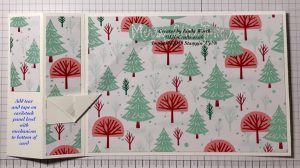
Add the remaining elf to the front layer surrounded by all the presents. Project is now complete.
Thank you for looking and hope you enjoyed this project. The supplies are listed below and linked to the online store, I would love to be your demonstrator if you are interested please contact me.
Linda x
Product List


